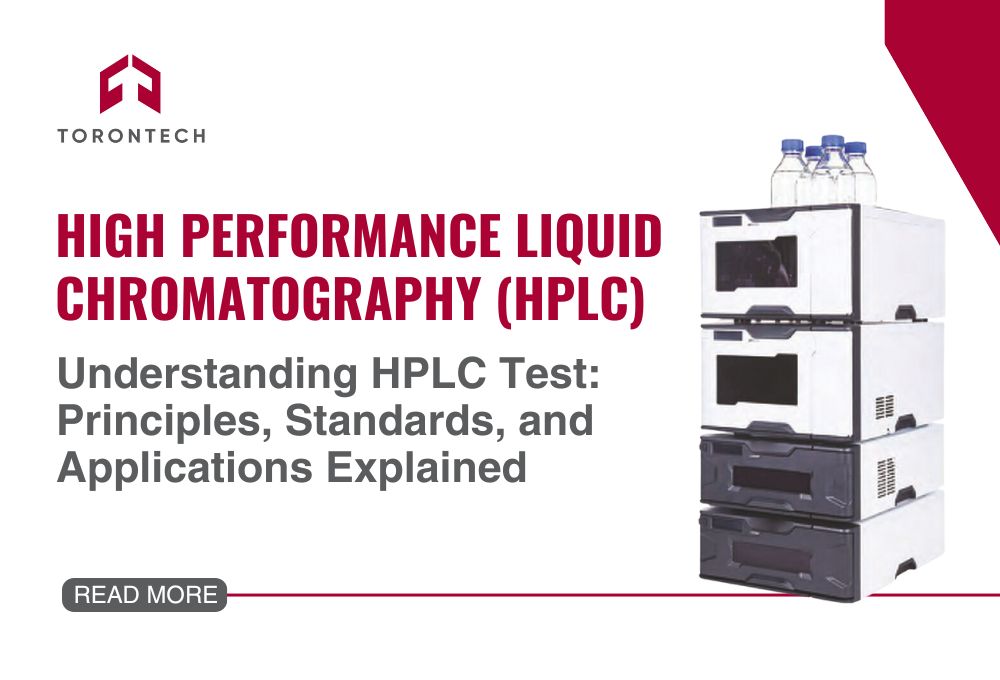
Accurate analysis of complex mixtures can be challenging, but High-Performance Liquid Chromatography (HPLC) provides a reliable solution. This guide will help you understand HPLC testing and analysis, covering essential equipment, step-by-step procedures, and result interpretation to ensure you achieve precise and consistent outcomes.
HPLC is crucial for quality control, research, and compliance across various industries. Understanding HPLC techniques allows you to optimize your laboratory processes and enhance your analytical capabilities. Let’s begin by exploring the basics of HPLC testing and how it can solve your analytical challenges.
Introduction to HPLC Testing
Understanding the components and process of HPLC testing is essential for achieving accurate analysis. It’s very important to grasp the basics, as this knowledge forms the foundation for reliable and effective testing. In this first chapter, we’ll explore how HPLC works and why it’s a dependable method for analyzing complex mixtures.
How Do You Test for HPLC?
HPLC testing involves several key steps. You begin by preparing the sample and selecting the appropriate mobile and stationary phases. The sample is then injected into the HPLC system, where it is carried by the mobile phase through the column.
The column, packed with stationary phase material, separates the sample components based on their interactions with the stationary phase. Finally, the separated components are detected and quantified by the detector.
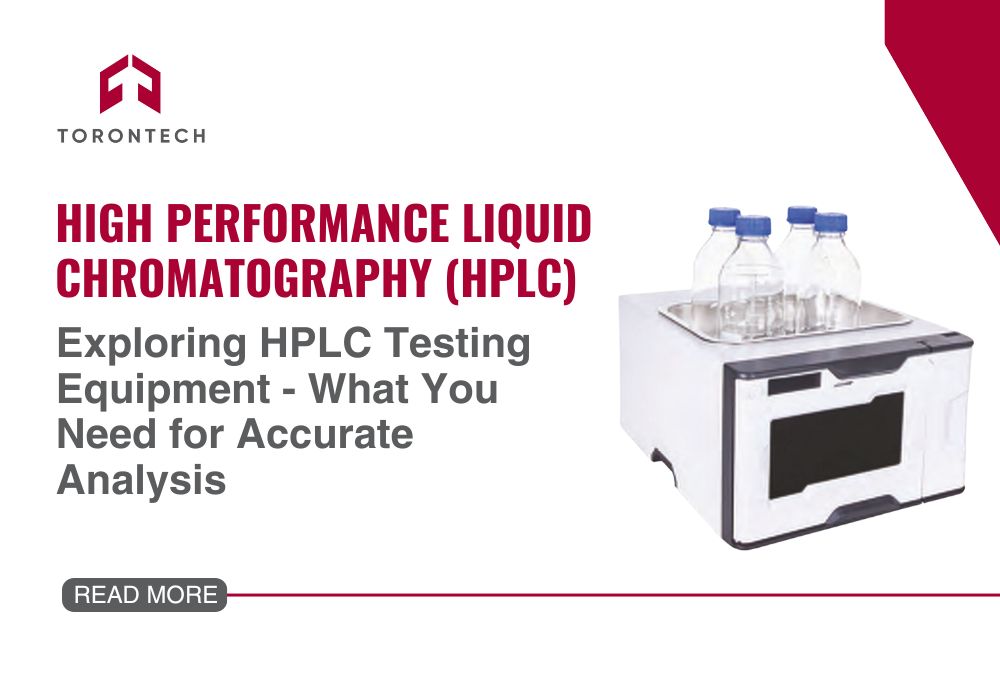
What Do You Test with HPLC?
HPLC is used to analyze a wide range of samples, including pharmaceuticals, environmental samples, food and beverages, and chemical products. You can test for purity, identify unknown compounds, quantify components, and detect impurities. HPLC is highly versatile and can be tailored to specific analytical needs.
What Sample is Used for the HPLC Test?
Samples for HPLC testing can vary widely depending on the application. Common samples include drug formulations, environmental water samples, food extracts, and industrial chemicals.
The sample preparation process is crucial and often involves filtration, dilution, or other treatments to ensure compatibility with the HPLC system and improve the accuracy of the analysis.
Next, we’ll delve into the step-by-step process of performing HPLC analysis, ensuring you have a clear understanding of each phase involved.
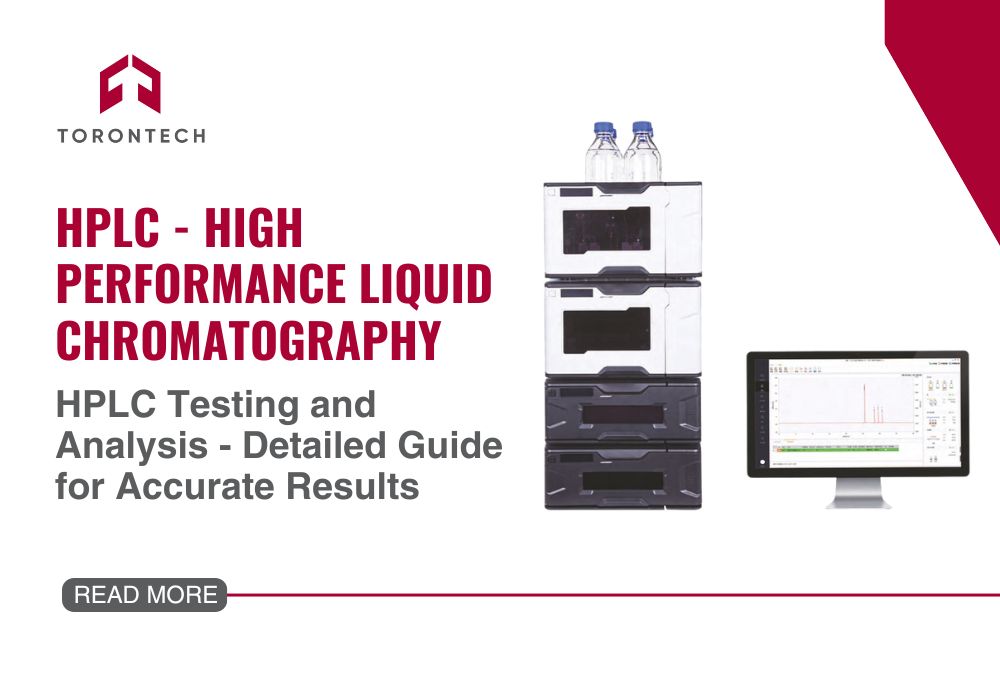
How to Perform HPLC Analysis Step by Step?
Executing an HPLC analysis involves a series of precise steps to ensure accurate and reliable results. Here’s a detailed guide to performing HPLC analysis step by step.
1. Sample Preparation
- Filtration: Filter your sample to remove particulates that could clog the column.
- Dilution: Dilute the sample to a concentration suitable for HPLC analysis.
- Preparation: Ensure the sample is compatible with the mobile phase.
2. Selecting Mobile and Stationary Phases
- Mobile Phase: Choose a solvent or mixture of solvents (e.g., water, methanol, acetonitrile) that will transport the sample through the column.
- Stationary Phase: Select a column packed with the appropriate stationary phase material (e.g., silica, polymeric resins) that will interact with the sample components.
3. System Setup
- Solvent Reservoirs: Fill the solvent reservoirs with the mobile phase.
- Pump: Set the pump to deliver the mobile phase at the required flow rate.
- Injector: Prepare the injector to introduce the sample into the mobile phase stream.
4. Injection of the Sample
- Manual Injection: Use a syringe to manually inject the sample into the injector port.
- Autosampler: Load the sample into the autosampler for automated injection, which increases consistency and throughput.
5. Separation in the Column
- Column Temperature: Set the column oven to the desired temperature for optimal separation.
- Flow Rate: Ensure the mobile phase flows through the column at the set rate.
- Interaction: The sample components interact with the stationary phase, separating based on their chemical properties.
6. Detection and Data Collection:
- Detector: Use a UV-Vis detector or mass spectrometer to identify and quantify the separated components.
- Data System: The detector sends data to the data system for analysis and recording.
7. Data Analysis
- Chromatogram: Interpret the chromatogram, which displays the detector’s response versus time.
- Peak Identification: Identify peaks corresponding to different sample components.
- Quantification: Calculate the concentration of each component based on peak areas or heights.
Understanding these steps will help you perform HPLC analysis accurately and efficiently. Next, we will delve into how to analyze and understand HPLC results, ensuring you can interpret the data correctly and make informed decisions.
Understanding and Analyzing HPLC Results
Accurate analysis of HPLC results is crucial for obtaining reliable data and making informed decisions. This chapter will guide you through the steps to analyze and understand HPLC results effectively.
1. Interpreting the Chromatogram
- Chromatogram Basics: A chromatogram is a graphical representation of the detector’s response over time. Peaks on the chromatogram correspond to different components of the sample.
- Retention Time: Each peak’s position along the time axis (retention time) helps identify the compounds. Compare retention times with those of known standards for identification.
- Peak Area and Height: These parameters are used to quantify the concentration of each component. The area under the peak is proportional to the amount of the compound present.
2. Identifying Peaks
- Retention Time Comparison: Match the retention times of peaks in your sample with those of reference standards.
- Spectral Data: Use the spectral data from detectors like UV-Vis or mass spectrometers to confirm the identity of the peaks.
3. Quantifying Components
- Calibration Curve: Create a calibration curve using standards of known concentrations. Plot peak area versus concentration to establish a linear relationship.
- Calculation: Use the calibration curve to determine the concentration of components in your sample by comparing their peak areas.
4. Ensuring Accuracy and Precision
- Internal Standards: Use internal standards to correct for any variations in injection volume or detector response.
- Repeatability: Perform replicate injections of the same sample to check the repeatability of your results.
Understanding and analyzing HPLC results are fundamental to successful HPLC testing. Accurate interpretation ensures reliable data, which is critical for research, quality control, and compliance.
HPLC Detection and Purity Testing
Accurately detecting impurities and ensuring the purity of your samples are crucial aspects of HPLC analysis. This chapter will guide you through the techniques and standards used in HPLC for detecting impurities and assessing sample purity.
How Does HPLC Detect Impurities?
1. Separation of Components
- Column Interaction: HPLC columns separate sample components based on their interactions with the stationary phase. Impurities often elute at different times than the main components.
- Retention Time Variations: Impurities have distinct retention times, allowing you to identify them separately from the main analyte.
2. Detection Methods
- UV-Vis Detection: Measures absorbance of UV or visible light by sample components. Different compounds absorb light at specific wavelengths, enabling their identification.
- Mass Spectrometry (MS): Provides detailed molecular information by measuring the mass-to-charge ratio of ions. MS is highly sensitive and can detect trace impurities that UV-Vis may miss.
3. Comparative Analysis
- Reference Standards: Compare sample chromatograms with reference standards to identify impurities.
- Spiking Tests: Add known impurities to the sample to verify their detection and retention times.
How to Check the Purity of HPLC?
1. Peak Purity Analysis
- Spectral Analysis: Use diode array detectors (DAD) to analyze the UV spectrum across the entire peak. Pure peaks will have consistent spectra across the peak, while impure peaks will show variations.
- Peak Shape and Symmetry: Evaluate the symmetry and sharpness of peaks. Pure compounds typically produce symmetrical peaks.
2. Purity Calculations
- Area Normalization: Calculate the purity of the main peak relative to the total area of all peaks. This provides an estimate of the main compound’s purity.
- Percent Purity: (Area of main peak / Total peak area) * 100. This calculation helps determine the percentage of the main compound in the sample.
3. Resolution and Separation
- Baseline Separation: Ensure complete separation of the main peak from impurities. Poor separation can lead to inaccurate purity assessments.
- Resolution Calculation: Measure the resolution between peaks to ensure they are well-separated. Higher resolution indicates better separation and more accurate purity assessment.
HPLC testing and analysis offer a robust solution for accurately analyzing complex mixtures. By mastering the fundamental components, performing detailed analyses, and interpreting results effectively, you can achieve precise outcomes in your work. HPLC is essential for ensuring quality control, advancing research, and meeting compliance standards across various industries.
To choose the right products and gain more comprehensive insights, visit our website or contact us. Our team is ready to support you in achieving your analytical goals with HPLC.